Share Projects with Deep Links#
Overview of Project Deep Links#
Deep links allow you to share NVIDIA AI Workbench projects with a single click.
Workbench automatically creates a deep link for any project published to a Git platform or server.
It uses the URL of the published project to create the deep link.
Clicking the deep link redirects to a web page and triggers Workbench (if installed) to open.
Users with Workbench installed have options to clone the project to their choice of ___location.
Best practices for sharing through deep links
Test the link before sharing it.
Verify access to the repository for intended users.
Note
Public projects: Anyone with the link can clone it.
Private projects: Only users with the appropriate permissions can clone the project.
Using Deep Links#
Finding the Deep Link URL#
Open the project in AI Workbench
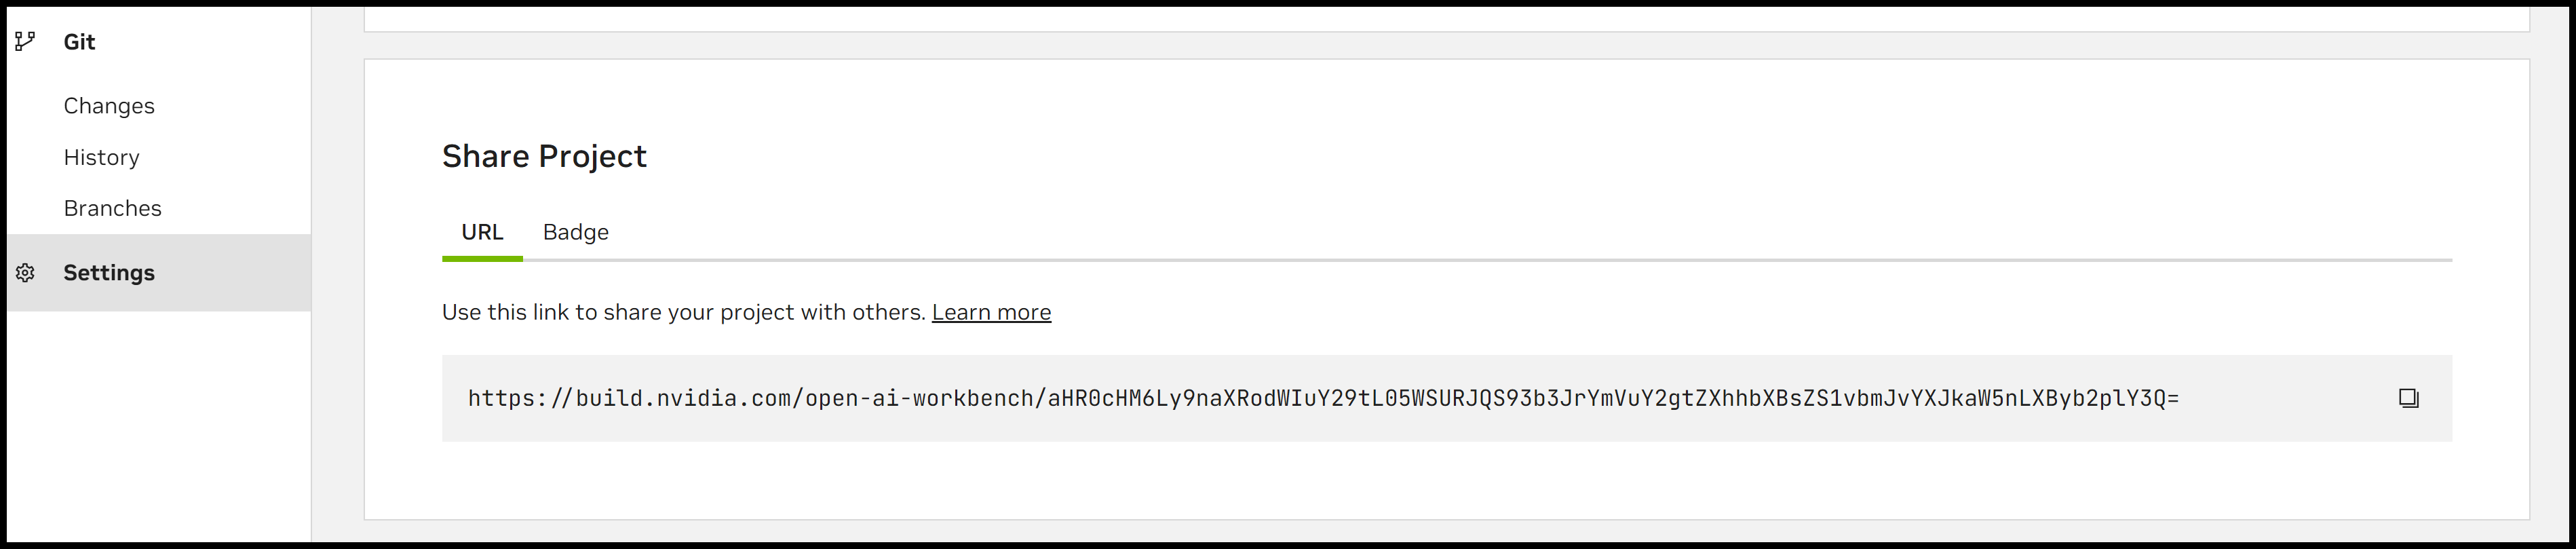
Click Settings in the left sidebar
Locate the Share Project section. The deep link URL for your project appears here
Copy the URL and share it as needed
Open from a Deep Link#
You open an AI Workbench project shared using a deep link by:
Clicking the link directly
Copying and pasting the link into a browser
AI Workbench will prompt you to:
Select a ___location where you want to open the project
Automatically clone and open the project for you
After selecting the ___location to clone:
AI Workbench automatically starts building the project
You can track the build progress in the AI Workbench status bar
FAQs#
How do I create a deep link badge?#
You can add a badge to your repository’s README or any Markdown-based page to let users quickly open your AI Workbench project. The badge looks like this:
Steps to Get Your AI Workbench Badge:
Open your project in AI Workbench
Click Settings in the left sidebar
In the Share Project section, go to the Badge tab
The Markdown code for your badge appears. It follows this format:
1[](<Your-URL>)
Copy the Markdown code to your clipboard
Paste the badge code into the repository README.md file or any other Markdown-based document
What happens if a user doesn’t have Workbench installed?#
If a user doesn’t have Workbench installed, the deep link flow will not complete.
However, there is an interstitial web page (the redirect) that will prompt them to install Workbench.
The deep link will not pick back up after they install. They will need to click it again.