Note
Access to this page requires authorization. You can try signing in or changing directories.
Access to this page requires authorization. You can try changing directories.
Dataflow Gen2 is the new generation of dataflows. However, many existing dataflows were created over the years using the original version of dataflows (now called Dataflow Gen1 and listed as the Dataflow type in your workspace). This article describes three methods for migrating your older Dataflow Gen1 dataflows into Dataflow Gen2 (CI/CD): importing Dataflow Gen1 dataflows into Dataflow Gen2 using the export template feature, copy the Gen1 queries and paste them into a new Dataflow Gen2, or using the Save As feature for saving an existing Dataflow Gen1 as a new Dataflow Gen2 (CI/CD).
Use the export template feature
Use the export template feature if you're aiming to copy all queries in a dataflow, or all queries from another PowerQuery host such as Power Platform Dataflow or Excel Workbook.
To use the export template feature:
From your Power BI or Data Factory workspace, select the ellipsis next to an existing Dataflow Gen1 and then select Edit.

In the Home tab of the Power Query editor, select Export template.

In Export template, enter the name you want to call this template in Name. Optionally, you can add a description for this template in Description.

Select OK to save the template. The template is saved in your default Downloads folder.
From your Data Factory workspace, select New item, and then select Dataflow Gen2.

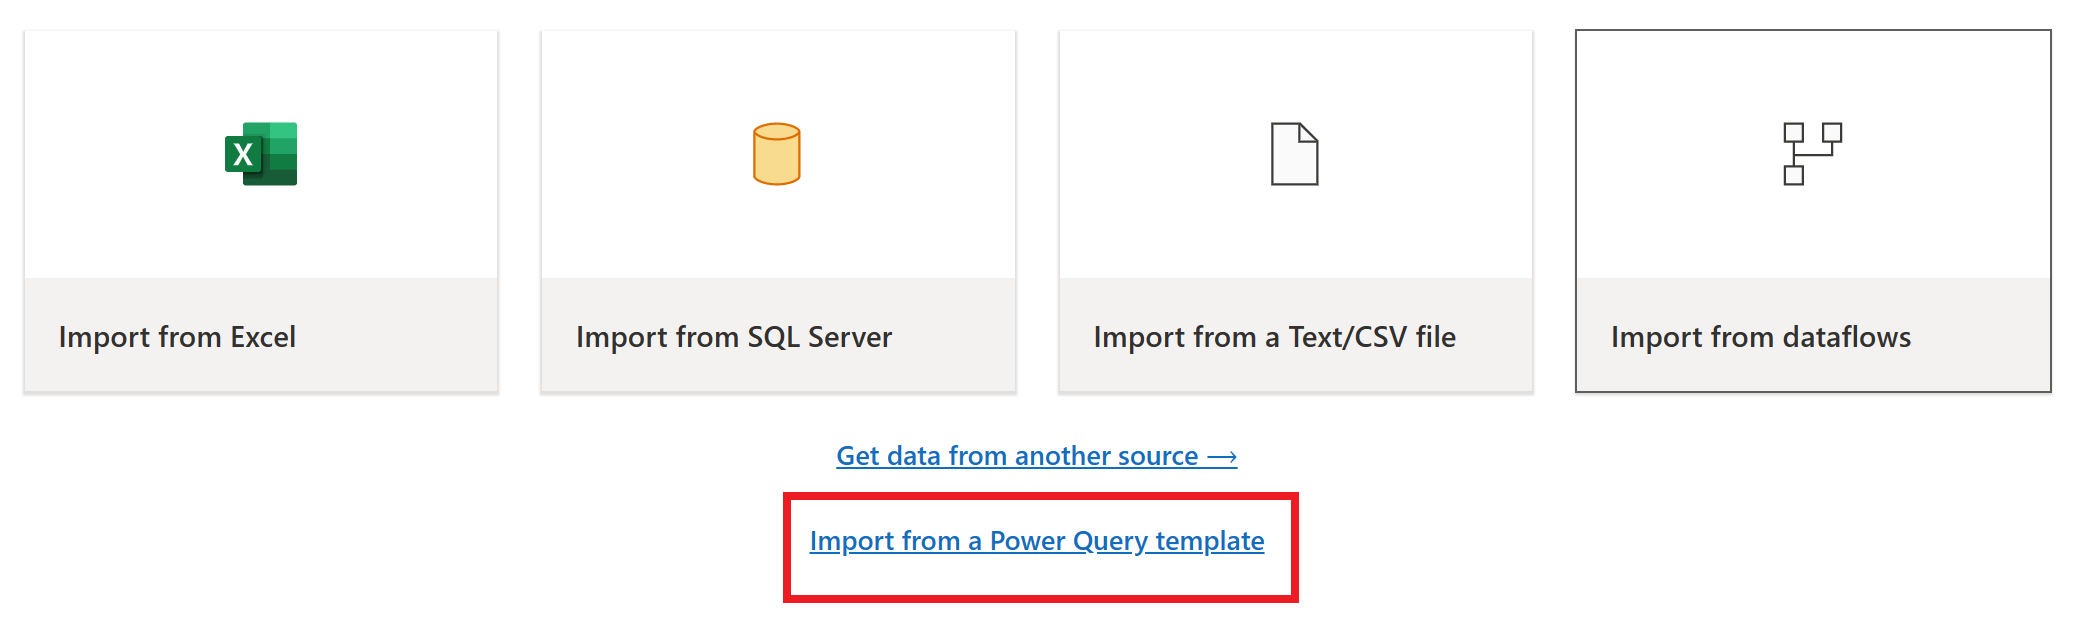
From the current view pane of the Power Query editor, select Import from a Power Query template.
In the Open dialog box, browse to your default Downloads folder and select the .pqt file you saved in the previous steps. The select Open.
The template is then imported to your Dataflow Gen2. You might be required to enter your credentials at this time. If so, select Configure connection and enter your credentials. Then select Connect.


Your Dataflow Gen1 is now imported to Dataflow Gen2.
Copy and paste existing Dataflow Gen1 queries
Use the copy existing Dataflow Gen1 queries if you're aiming to copy only a subset of your queries.
To copy existing Dataflow Gen1 queries:
From your Power BI or Data Factory workspace, select the ellipsis next to an existing Dataflow Gen1 and then select Edit.
In Power Query, select the query or queries you want to copy. If there are multiple queries or folders (called groups in Power Query) you want to copy, select Ctrl as you select the queries or folders you want to copy. Then either select Ctrl+C or right-click in the selection and select Copy.

Open an existing Dataflow Gen2, or create a new Dataflow Gen2 in Data Factory. To create a new dataflow, open an existing workflow and select New item > Dataflow Gen2.
In the Power Query editor, select Get data > Blank query.

In the Blank query dialog box, select Next.
Select inside the Queries pane of the Power Query editor, and then select Ctrl+V to paste the query.
You might need to add your credentials before you can use the pasted queries. If a
Credentials are required to connect to the Web source.message appears, select Configure connection, and then enter your credentials.
Select Connect to connect to your data.
Once you connect to your data, right-click the initial blank query, and then select Delete to remove the empty query.


Save an existing Dataflow Gen1 As a new Dataflow Gen2 (CI/CD)
Use the Save As (preview) feature if you’re aiming to upgrade an entire Dataflow Gen1 to Dataflow Gen2 (CI/CD), including its settings (for more information, go to Known limitations) and queries.
To use the Save As (preview) feature:
In your workspace, select the ellipsis (...) next to an existing dataflow, and select Save as Dataflow Gen2 in the context menu.

In the Save as dialog, optionally change the default Name, and then select Create.

The new Dataflow Gen2 (CI/CD) is opened, enabling you to review and make any changes.
You're required to reconnect to data sources, which can be done by selecting the Configure connection button within the
Credentials are requirederror message.
Close the new Dataflow Gen2 (CI/CD), or select Save or Save and run.
