Note
Access to this page requires authorization. You can try signing in or changing directories.
Access to this page requires authorization. You can try changing directories.
Dev Box supports an agentic workflow using GitHub Copilot agent mode to help generate the team customization file (imagedefinition.yaml) using natural language prompts. GitHub Copilot simplifies setting up your Dev Box environment by letting you describe your needs conversationally instead of manually creating YAML files.
Supported scenarios
The Dev Box agentic workflow supports the following scenarios:
Mimic your current development environment - Generate or modify a definition that replicates the configuration of your current machine.
Use repository context - Create or modify a definition in the context of a specific GitHub repository.
Natural language instructions - Generate a customization file by describing the development environment you want.
Note
The agentic workflow supports only Dev Box primitive tasks, including WinGet, PowerShell, and Git-Clone.
Prerequisites
Before you start, ensure you install the following software:
Visual Studio Code (latest version)
Steps to generate the team customization file (imagedefinition.yaml)
Open Visual Studio Code.
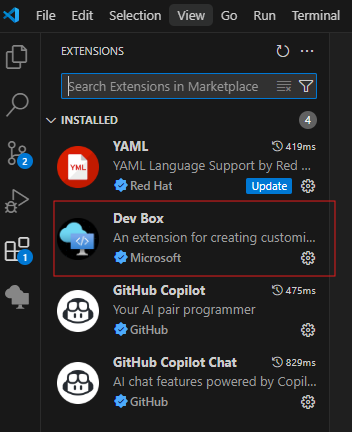
Install the Dev Box extension if it's not already installed.
Open Extensions (Ctrl+Shift+X), search for Dev Box, and install the extension.
Make sure agent mode is enabled by setting chat.agent.enabled in the Settings editor. This setting requires VS Code 1.99 or later.
Open Copilot Chat in VS Code.
Make sure Dev Box tools are preselected under "Select tools."
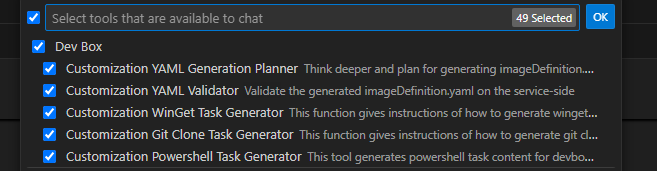
Select Agent Mode, and choose the model: Claude 3.5 Sonnet.

Provide natural language prompts, such as:
"I want to configure a dev box with all the tools and packages required to work on this [repo name] repo."
"I want to preconfigure a dev box with Visual Studio 2022 Enterprise, VS Code, Git, .NET SDK 8, Node.js LTS, Docker Desktop installed, and have the team's repo [URL] cloned onto the dev box."
"I want to configure a dev box with all the dev tools and packages installed on my current machine."
Tip
Clone and open the specific repo in VS Code if you want to generate the definition in the context of a repository.
Follow the prompts to configure packages.
When prompted, select Continue to proceed with package configuration.
Copilot generates the imagedefinition.yaml file.
Refine with more prompts.
- Continue interacting with the agent until the tools and packages you want are reflected in the file.
Validating or Applying the Customizations
Perform these steps within a Dev Box instance.
Select Continue when prompted to proceed with validation, or provide the prompt to validate the imagedefinition.yaml.
- Submit a prompt to the agent: Validate my imagedefinition.yaml file.
Apply customizations to the current Dev Box.
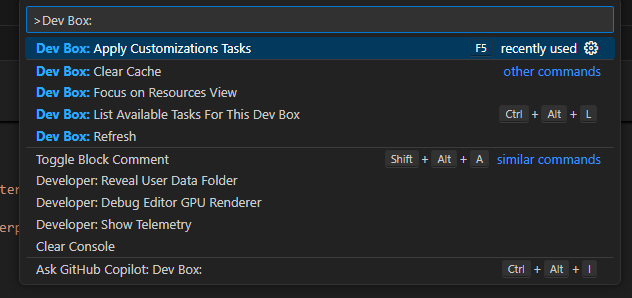
Open Command Palette (Ctrl+Shift+P).
Select Apply Customization Tasks.
Confirm the User Account Control (UAC) prompt to install tools and apply settings.
Save and configure the project to use the image definition
After your imagedefinition.yaml is ready:
Save the file to a GitHub or Azure DevOps repository.
Attach the repository as a catalog to your project.
This step is necessary to make the imagedefinition.yaml available for use in your Dev Box pool.
For more information, see Add and configure a catalog from GitHub or Azure Repos.
Configure a Dev Box pool using the generated imagedefinition.yaml:
Go to Dev Box Pools in your project.
Create a new Dev Box pool or edit an existing one.
Select the image definition created from your imagedefinition.yaml.
For more information, see Manage a dev box pool in Microsoft Dev Box.
This method ensures that every Dev Box created from this pool uses the ready-to-code configuration.
This AI-powered workflow streamlines the process of setting up Dev Box customizations, letting platform engineers and dev managers create reusable, consistent environments with minimal effort.