Note
Access to this page requires authorization. You can try signing in or changing directories.
Access to this page requires authorization. You can try changing directories.
In this quickstart, you use Azure AI Foundry to deploy a chat model and use it in the chat playground in Azure AI Foundry portal.
For this quickstart, you can use either a hub based project or a Foundry project. For more information about the differences between these two project types, see Project types.
If you don't have an Azure subscription, create one for free.
Prerequisites
- A subscription below the quota limit to deploy a new model in this tutorial. Otherwise you already need to have a deployed chat model.
Deploy a chat model
To work with a model, you first deploy it into a project.
Tip
Because you can customize the left pane in the Azure AI Foundry portal, you might see different items than shown in these steps. If you don't see what you're looking for, select ... More at the bottom of the left pane.
Sign in to Azure AI Foundry.
Studio remembers where you were last, so what you do next depends on where you are:
- If you're new to Azure AI Foundry, select Create an agent. Add a name for your project and select Create.
- If you see a list of projects, select the one you want to use. You can use either a hub based project or a Foundry project.
- If you're already in a project and want to use a new one, select Azure AI Foundry in the top left corner, then select Create new to create the new project.
Select Model catalog from the left pane.
Select the gpt-4o-mini model from the list of models. You can use the search bar to find it.

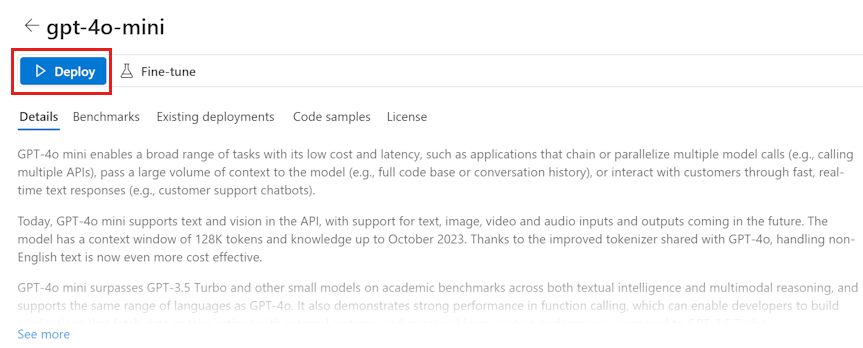
On the model details page, select Deploy.
Leave the default Deployment name. Select Deploy.


- Once the model is deployed, select Open in playground to test your model.
You're now in a project, with a deployed model. You can use the chat playground to interact with your model.
For more information about deploying models, see how to deploy models.
Chat in the playground without your data
In the Azure AI Foundry playground, you can observe how your model responds with and without your data. In this quickstart, you test your model without your data.
To chat with your deployed model in the chat playground, follow these steps:
In the System message text box, provide this prompt to guide the assistant: "You're an AI assistant that helps people find information." You can tailor the prompt for your scenario.
Optionally, add a safety system message by selecting the Add section button, then Safety system messages. Choose from the prebuilt messages, and then edit them to your needs.
Select Apply changes to save your changes, and when prompted to see if you want to update the system message, select Continue.
In the chat session pane, enter the following question: "How much do the TrailWalker hiking shoes cost?"
Select the right arrow icon to send.

The assistant either replies that it doesn't know the answer or provides a generic response. For example, the assistant might say, "The price of TrailWalker hiking shoes can vary depending on the brand, model, and where you purchase them." The model doesn't have access to current product information about the TrailWalker hiking shoes.

Next, you can add your data to the model to help it answer questions about your products. Try the Deploy an enterprise chat web app tutorial to learn more.