Report Actions
When you select a report in the Reports table, details for the selected report display on the right side panel along with action icons that, when clicked, initiate functionality available for the report. Other actions, such as creating reports and running reports are initiated by other links and/or selections and are described in this topic.
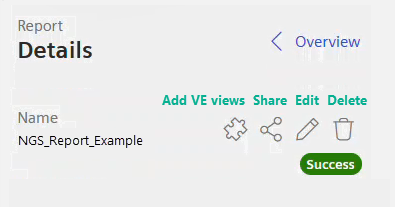
This image shows all of the action icons that display on the Reports landing page:
Actions and User Roles
The role assigned to you by your organization's administrator determines the actions available to you in the Reports user interface. Reports can only be changed or deleted by the report owner.
Creator role allows the user to:
- Add VE views to a report (puzzle icon).
- Share a report with other users (share icon).
- Edit report fields, with the exception of the report name (pencil icon).
- Delete a report (trash icon).
- Create a report that viewer users can use for a Quick Analysis Report.
- Create a report that other users can use for a Paginated PDF.
Viewer role allows the user to:
- Run a Quick Analysis Report based on scheduled or non-scheduled report in the Reports table
- Make ad hoc changes to a report in the table and run it again
- Run a Paginated PDF report
See the "Creating Reports" topic for in-depth information on creating new reports, Quick Analysis Reports, and Paginated PDF Reports.
Adding Visual Explorer Views to a Report in the Reports Table
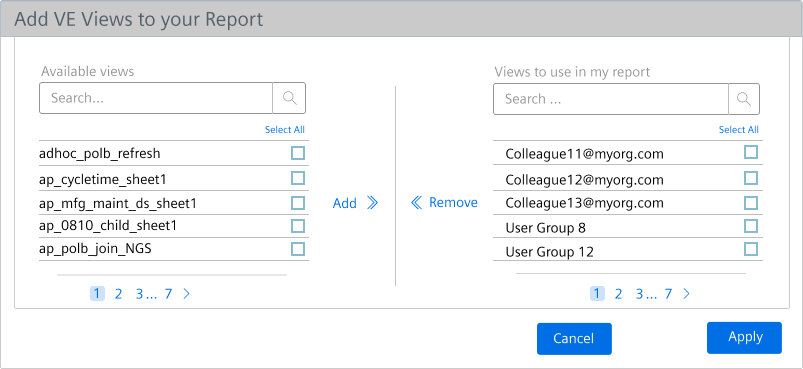
While you can add Visual Explorer (VE) views to a report in the Reports table, adding VE views is one of the steps in creating a report. Depending on the size of your data, it can take some time for the data to be written to OI Reports; or you may be limited in the time you have while creating a report, so we give you the option to return later to create and add the VE views to your reports. If you opt to come back later, we save your work and you'll find your report in the table. Select the report and click the puzzle icon and the Add Visual Explorer Views displays so you can finish setting up the report. This is why there are instructions here for adding Visual Explorer views to a report and they also appear in the steps in the Creating a Report topic. Here's an example of the Add VE Views window:
How to Add a VE View to a Report
Follow these steps to associate a VE view with a report:
- In the Reports table, select the report you want to add VE views to.
- Select the puzzle icon. The Add VE Views window displays.
- Enter characters in the "Available views" field until you see the views you want.
- Select the check box for each view you want to add to your report or, click "Select All" to add all of them.
- Click the double-chevron "Add" icon. Your selections appear in the "Views I use in this report" list.
- Click Apply.
Sharing Reports
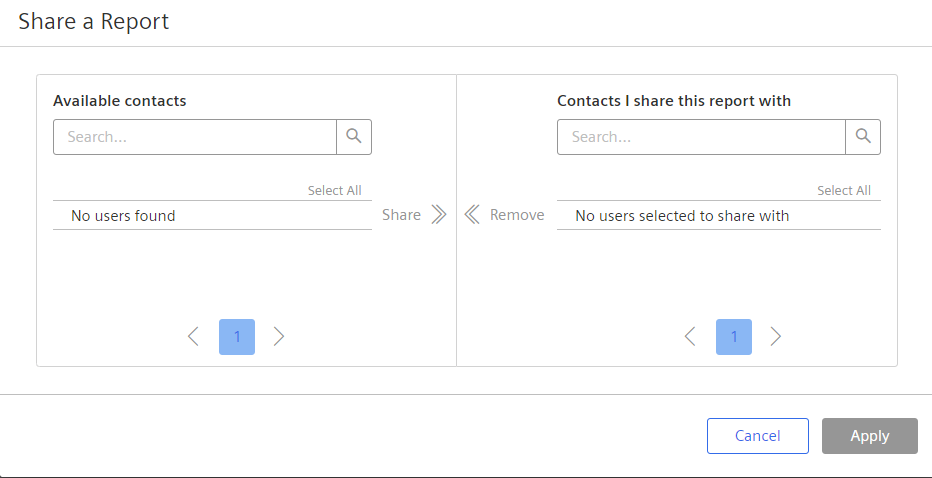
You can share reports with users or user groups in your organization. Shared reports cannot be changed or deleted; only the report owner can make changes. Here is an example of the Share dialog:
How to Share a Report
Follow these steps to share a report:
- Select the row in the Reports table for the report you intend to share. The report details display in the right panel.
- Click the Share icon. The share dialog opens.
- Search for contacts and select those you want to share with, or use Select All to select all contacts in the list.
- Click the Share link. The contacts you select appear in the shared contacts list on the right.
- Click Apply to save your changes. Your report now appears in the reports table for the contacts added.
Editing Reports
Once a report is created, you can access it from the Report List page and make changes to all settings with the exception of the report name.
Be aware that sometimes changes made to a data source or a joined dataset can result in issues, like:
- Filters can drop from an attribute(s)
- Report execution may fail
In such a case, you may need to add filters to the attributes again. You can avoid issues by saving the edited report with a different name.
How to Edit a Report
Follow these steps to edit a report:
- On the Reports list page, select the row for the report you want to edit. The right side panel displays details of the report.
- Click the Edit icon. The report opens for editing,
- Use the "Next" and "Back" buttons in the progress bar to navigate the report settings.
- If you make changes to a data source used in a join, update the joined dataset to reflect the changes.
- In the Save step, edit the description and VE project ___location, if needed.
- Click "Finish" to save the edited report.
How to Delete a Report
To delete a report, highlight the report in the Reports table and click the "Delete" icon.